
淺嘗 ComfyUI 用AI產生圖片
來記錄一下用AI產生圖片的心得,基本上目前看到的是兩大門派
然後 automatic1111 目前對於 mac M 系列晶片的支援有一些問題,所以我就打算選擇 comfyUI,畢竟目前電腦是 mac book lol。另外現在 comfyUI 已經有支援 desktop 的安裝方式了 https://comfyui-wiki.com/en/install/install-comfyui/install-comfyui-on-mac ! 一開始 mac 平臺是只有自己 clone repo 安裝的方式~ 因爲我其實很早就有接觸了一下,所以是手動安裝的。
簡單說明一下手動安裝方式
一開始下載 repo
python -m venv .venv
source .venv/bin/activate
pytorch 我是在蘋果官網看到建議下面這樣的安裝方式 https://developer.apple.com/metal/pytorch/
pip3 install --pre torch torchvision torchaudio --extra-index-url https://download.pytorch.org/whl/nightly/cpu
然後再執行
pip install -r requirements.txt
最後就可以執行
python main.py
打開瀏覽器會看到類似下面的結果,這是我跑預設的 workflow 產生圖片的樣子,不過一開始你是沒有model的,你必須要自己下載。
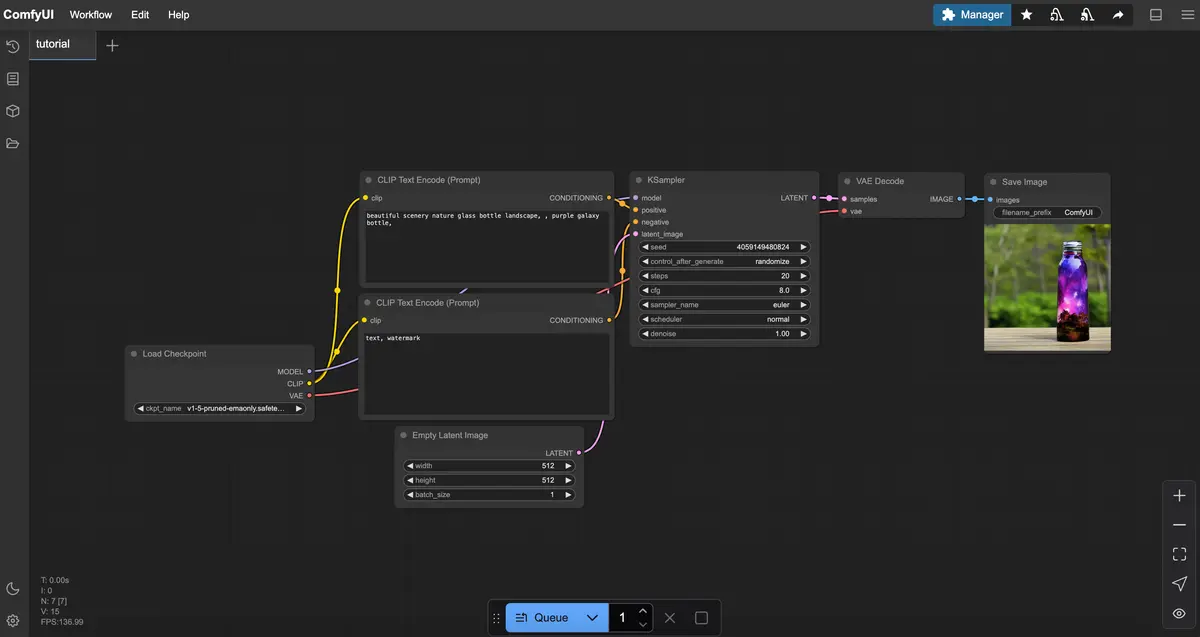
一般常用的是 stable diffusion model,官方有提供下載的地方! https://comfyui-wiki.com/en/resource/stable-diffusion-models
這邊我是下載 v1-5-pruned-emaonly.safetensors 到我的 ComfuUI 目錄下的 models/checkpoints 地下,就可以了。 安裝方式可以看這邊 https://comfyui-wiki.com/en/install/install-models/install-checkpoint 。
其實可以考慮額外安裝 comfyUI manager
https://github.com/ltdrdata/ComfyUI-Manager 如同官方說明,是一個輔助你安裝一些功能的工具,就算沒有這個其實也是沒差,就是你都自己來而已! 安裝方法很簡單就是 clone 到特定目錄下,重啓 server 而已。
cd custom_nodes
git clone https://github.com/ltdrdata/ComfyUI-Manager.git
按 manager 那個 button 會看到如下畫面~
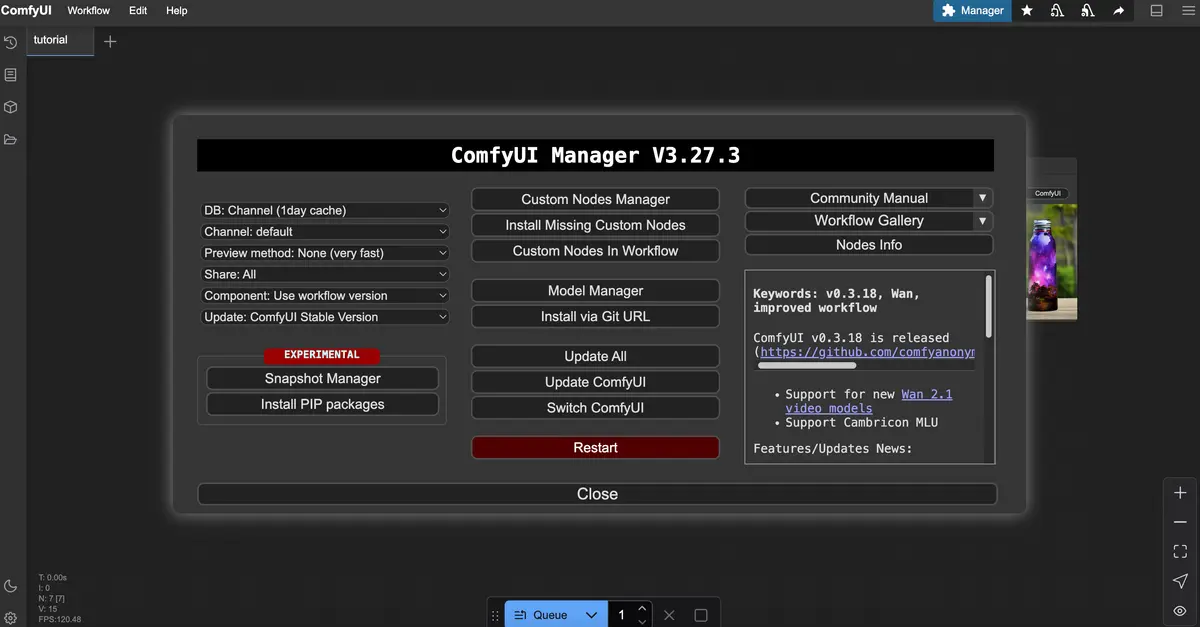
像我剛剛載的 model 其實可以用這個搜尋到,安裝很方便。
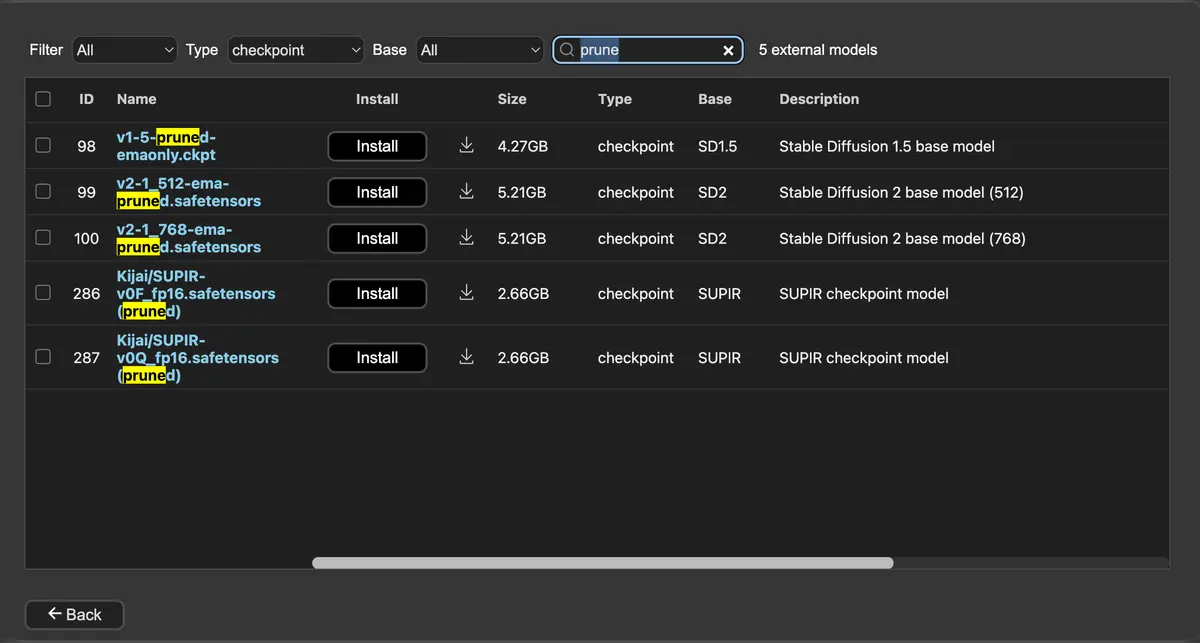
但是其實好像不是每一個都找得到就是了,有些還是要自己手動裝~ 不過目前這塊領域我還沒深入去瞭解XD 有好多術語需要去研究一下,比如像是什麼是 checkpoint model
Checkpoint models are pre-trained Stable Diffusion models for generating a particular style of images. What kind of images a model generates depends on the training images. A model won’t be able to generate an image of a cat if it wasn’t trained with cat images.
另外我看到有人推到 Civitai (https://civitai.com/) 下載checkpoint model說是品質不錯,上面也有很多 workflow 可以下載,暫且留個記錄一下!
接下來如何跟 open webui 串接呢
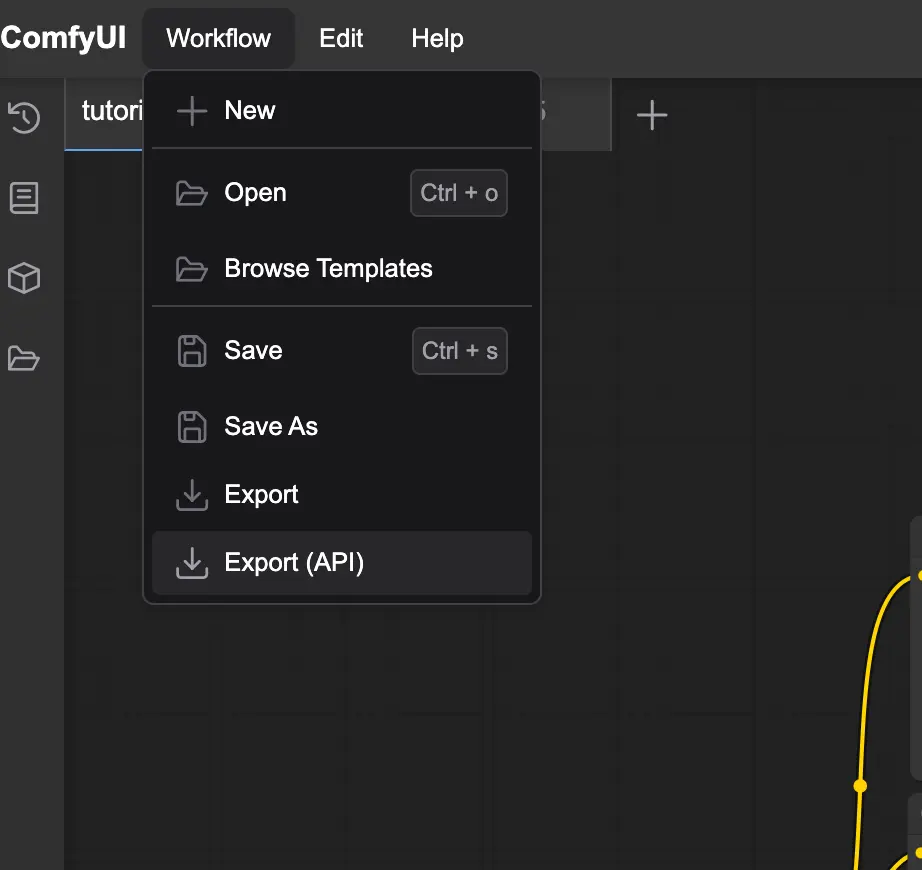
open webui https://github.com/open-webui/open-webui 算是我個人滿喜歡用的 local AI platform,說實在的這個用法其實幫助沒特別大,畢竟要產生有質量的圖片,很難一分鐘內跑完,除非你配備夠好吧? 這個我只是設定好玩的~ 基本上設置上沒太大困難, comfyUI workflow 選單可以選擇 export api workflow 如下圖。
然後就是在 open web ui 的設定打開產生 image ,還有 comfyUI 相關設定,這邊workflow就是剛剛上面產生的 json 檔,儲存後

接著在 open web ui測試,我用了 stable diffusion prompt generator model 幫我修飾 prompt,之後可以按 generate image 的按鈕就會產生圖品了。
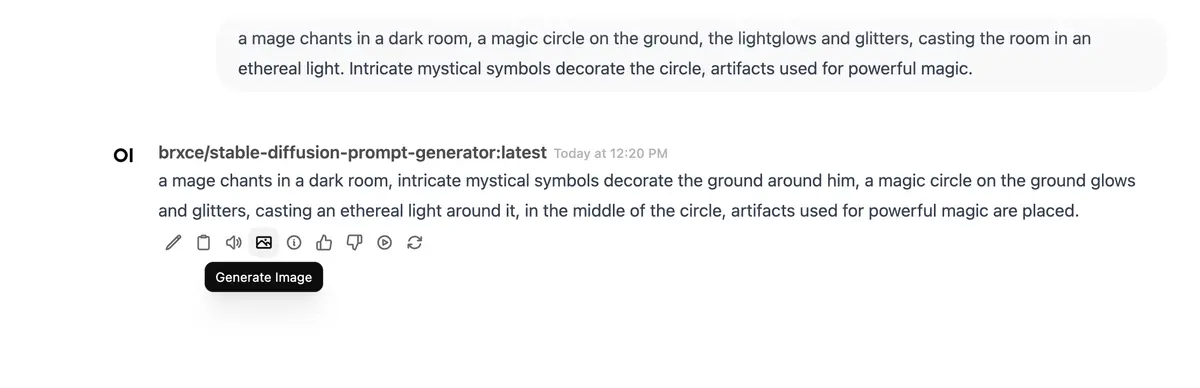
然後產生的圖片是長這樣 lol
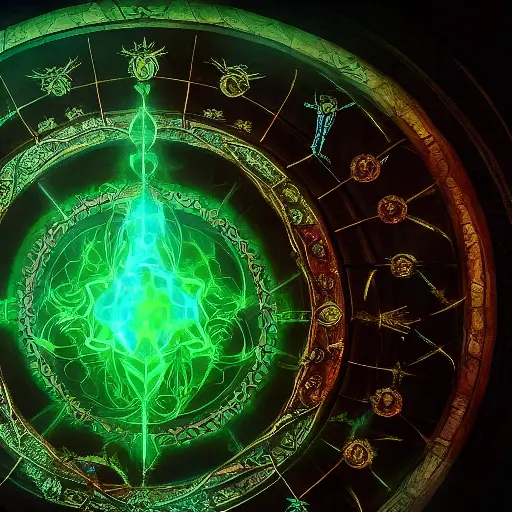
基本上這樣的使用體感就很像我在 chagpt 叫它幫我產生圖片的 fu
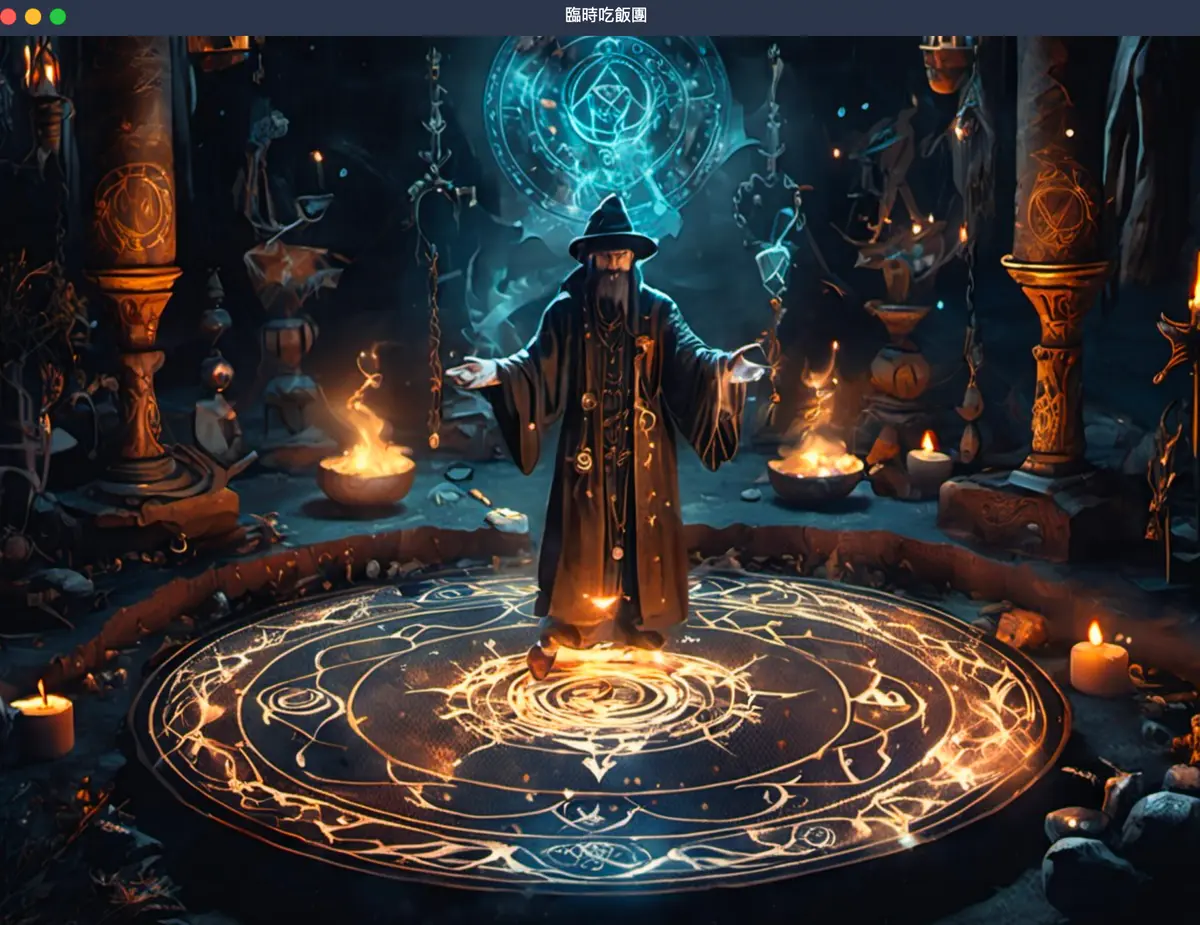
這邊我有另外用 Civitai 上面某個 workflow,跑出來的圖片好很多,只是果然需要不少時間而且效能被吃了不少,幾乎無法做其他事情 qq
未來
目前其實對於 comfyUI 真的沒有碰太深~ 因爲本來我只是想要用這套工具幫我產生部落格文章的封面圖,這篇部落格的封面也確實是用comfyUI做的,但是沒想到要品質不錯的圖,似乎電腦效能要不錯,顯卡有一定需求而且種類不同表現差很多。。看來我還是只能繼續白剽 chatgpt 跟 copilot designer 了??不過也可能是我沒調好參數或是使用其他更讚的model,或許有不錯用的,只是需要花時間研究一下,改天有心得再來寫文章,另外ComfyUI 社群滿大的,有著各種 workflow 還有 extensions,有些都需要安裝額外東西,但是效果都十分驚人啊!! 尤其是動態圖或是文字變成影片, 我想有時間的話我會先從 https://openart.ai/workflows/academy 開始學習一下。